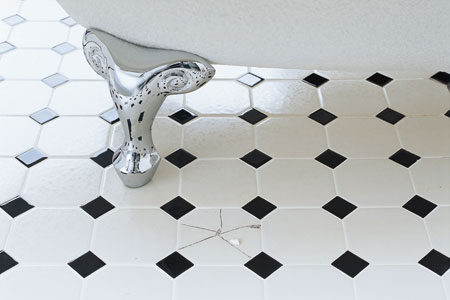
A floor covered with ceramic tile is about as durable and low-maintenance a surface as you can get. Replacing a broken or chipped tile is pretty simple to do and one that any homeowner can handle.
1. Remove the grout
Pop on your safety glasses to protect your eyes from chips and dust, then rake out the grout around the broken tile using a carbide-tipped scoring tool. Apply just enough pressure to remove the grout but not so much that a slip will gouge the neighbouring tiles.
Pop on your safety glasses to protect your eyes from chips and dust, then rake out the grout around the broken tile using a carbide-tipped scoring tool. Apply just enough pressure to remove the grout but not so much that a slip will gouge the neighbouring tiles.
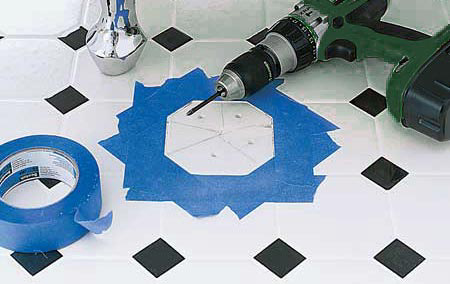
2. Loosen the tile
Apply masking tape around the edges of the adjacent tiles to protect them. Drill evenly spaced holes into the broken sections of tile with a 6mm HSS bit. This helps free the pieces from the floor and makes them easier to chisel out.
Apply masking tape around the edges of the adjacent tiles to protect them. Drill evenly spaced holes into the broken sections of tile with a 6mm HSS bit. This helps free the pieces from the floor and makes them easier to chisel out.
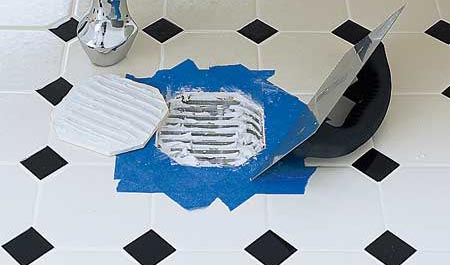
3. Chisel out the pieces
Working from the centre out toward the edges, gently tap out the broken pieces with a hammer and a narrow chisel. If you don't have a tile chisel, a cold chisel or even a flat-blade screwdriver will also do the job. Start with the chisel at 90 degrees to the floor, then switch to a 45-degree angle after you penetrate the glaze. Once the broken tile is removed, use a wider chisel to clean all the old adhesive off the substrate.
Working from the centre out toward the edges, gently tap out the broken pieces with a hammer and a narrow chisel. If you don't have a tile chisel, a cold chisel or even a flat-blade screwdriver will also do the job. Start with the chisel at 90 degrees to the floor, then switch to a 45-degree angle after you penetrate the glaze. Once the broken tile is removed, use a wider chisel to clean all the old adhesive off the substrate.

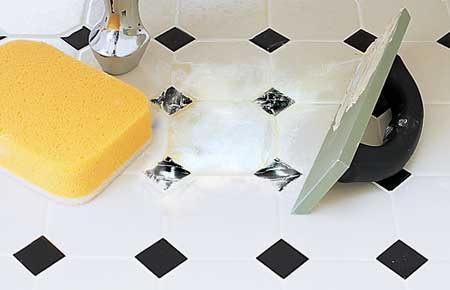
4. Set the new tile
Comb a small amount of tile adhesive over the floor in straight furrows using a notched trowel. For best adhesion, also butter the back of the new tile with thinset. Set the tile in place and press down firmly to level it with the surrounding tile. Adjust it so the spacing is even on all sides.
Comb a small amount of tile adhesive over the floor in straight furrows using a notched trowel. For best adhesion, also butter the back of the new tile with thinset. Set the tile in place and press down firmly to level it with the surrounding tile. Adjust it so the spacing is even on all sides.
5. Fill the joint with grout
Wait at least two hours for the thinset to cure, then mix up a batch of grout. Swipe the grout into the joints with a rubber grout float held at a 45-degree angle, then wait 15 minutes for it to harden. When the grout no longer feels tacky to the touch, clean off the excess with a damp sponge.
Wait at least two hours for the thinset to cure, then mix up a batch of grout. Swipe the grout into the joints with a rubber grout float held at a 45-degree angle, then wait 15 minutes for it to harden. When the grout no longer feels tacky to the touch, clean off the excess with a damp sponge.
6. Allow the grout to dry
Don't walk on the tile for 24 hours.
Don't walk on the tile for 24 hours.


0 comments:
Post a Comment