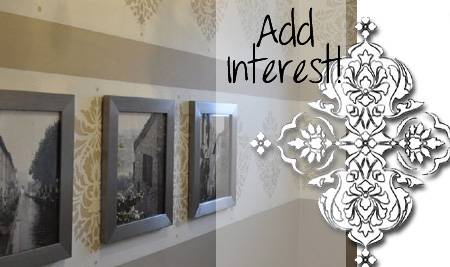
If you're prepared to do all the preparation required for painting stripes onto a wall, they really do add interest to boring rooms. Not only that, but horizontal stripes visually widen a space, while vertical stripes create the illusion of height in a room with a low ceiling.
Add to that the various other ways that you can use stripes to add colour, interest and texture and make an instant impact - and you're ready to earn your stripes.
Use stripes to add interest
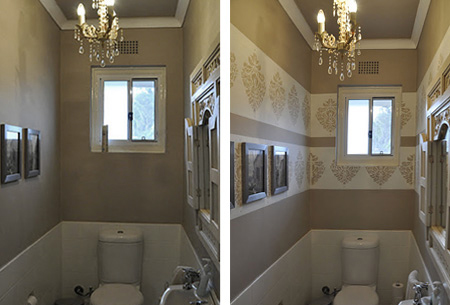
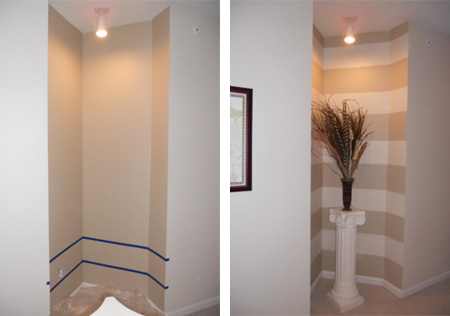
Take this pretty average guest loo for example. On the left is the room before adding stripes and stencilled design, and on the right... well, it speaks for itself!
Simply by adding a couple - that's two - thick stripes to the wall and a few stencilled designs, this pretty average guest loo goes from average to awesome.
How was it done?
In a room this small, adding stripes is easily be done in a weekend.
Paint on the base coat colour and let this dry.
Decide how wide you want your stripes to be - bold, thick stripes are very trendy at the moment - and then use a spirit level, tape measure and pencil to mark them onto the wall.
Measure from ceiling to floor all around the room to ensure that walls are the same height all round. This may seem like a odd thing to say, but you would be surprised at how many walls are not.
GOOD TO KNOW
Do check that the floor and ceiling is level before you start painting, or else you might have to start all over again.
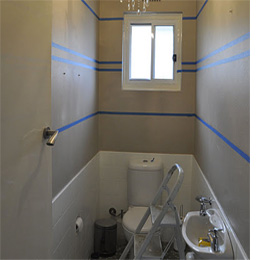
After everything is marked out and you are happy, it's time to start adding masking tape. Make sure you have a few rolls of tape on hand to complete the task. If you can, use the blue painter's tape that is now available - it sticks nicely and easily peels off.
Apply the second paint colour and remove the masking tape when the paint is almost dry. And there you have it.
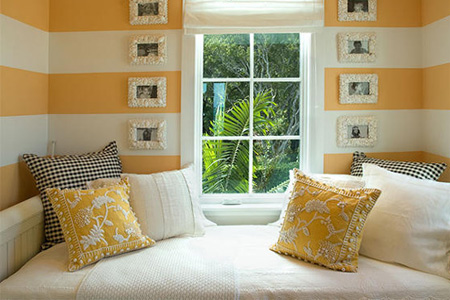
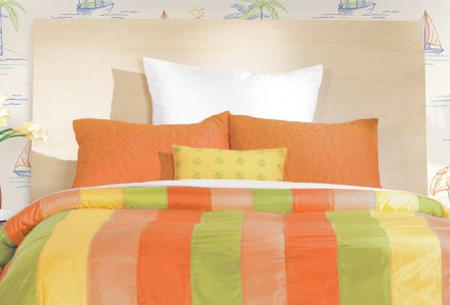
Use stripes to define a space
A cosy day bed fits nicely into a sunny nook. The pale orange stripes that match the cushion fabric not only define the space to create a feature, they also lighten and brighten to create a spot that is warm and welcoming - a place where you really do want to sit down in and read a good book.
BELOW: Some homes are designed in a way that leaves awkward spaces that are hard to decorate. Instead of trying to hide these away, why not make them into a dramatic feature.
[via]
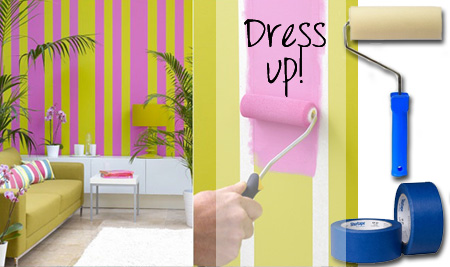
Dress up a wall
Have fun and be creative with stripes and choosing bold colours creates a dramatic impact. Keep stripes crisp by painting over the edge of the painter's tape to create a seal and stops paint from bleeding into the next stripe.
Thick, bold stripes are an easy way to add detail to an entrance hallway or long, narrow passage.
Take your colour cue from colours used to decorate the rest of your home and the mix in a lighter or darker shade as a contrast.
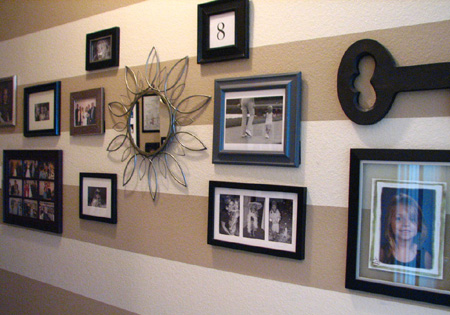
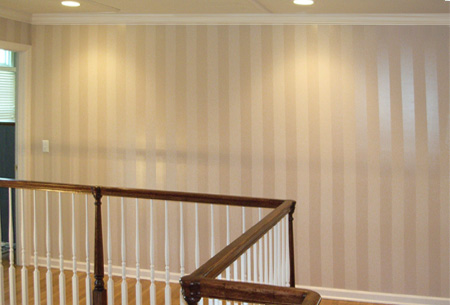
Transparent stripes
A subtle painting technique involves the use of matt paint and glossy stripes. The finished look is classic and elegant, mimicing the look of expensive wallpaper.
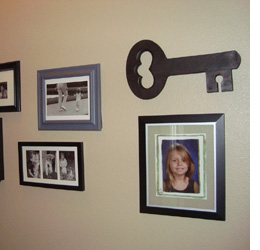
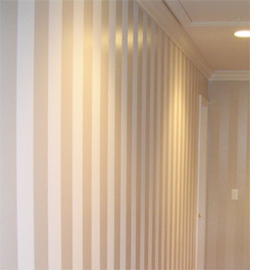
A wall painted in broken white is given transparent stripes with acrylic sealer. This effect is very subtle but quite dramatic, especially under artificial lights.
This transparent stripe effect is stunning for staircases, dull hallways and passages, where it can reflect artificial light and bounce it back into the space.
How to create transparent stripes
Apply the base coat colour in a matt paint and allow this to dry. If you use a paint such as Prominent Paints UltraMatt, you'll still be able to wipe down occasionally. Let the paint dry completely.
Starting at one end of the wall, place columns of masking tape to create the width of the stripes you require. Use the tip of your finger to press down along the tape edges to reduce bleed.
If you own, or have access to a laser level, this makes the process of taping up the stripes much easier. Simply align and move the laser level along as you tape.
As an alternative to taping the lines, use chalk to mark the stripes. This is easily wiped off once you are finished.
Paint the stripes with a medium-wide foam roller, applying one coat of acrylic sealer. Peel away the painter's tape before the paint dries.
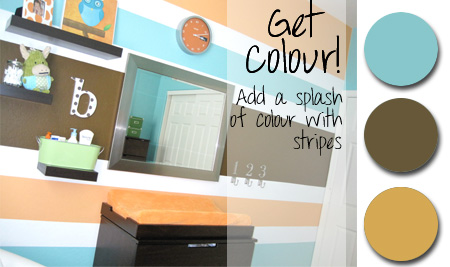
Colourful stripes - or not!
If you are looking to add interest to a nursery or playroom and wallpaper is just way too much of a commitment, consider painting stripes! You can go elegant with a tone-on-tone look easily achieved by using the same paint colour in two different finishes, as we've shown above, or use contrasting colours for a playful look.
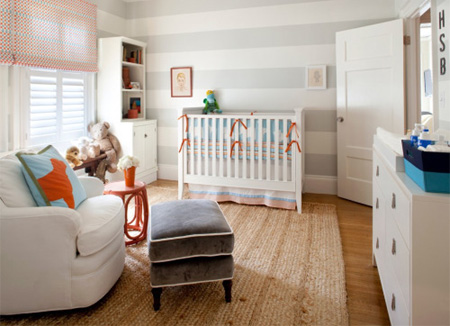
Is it a boy? Is it a girl? With these colours - who cares! Palest aqua and tangerine are teamed with chocolate brown to design a nursery that pops with colour. Play up the walls and tone down the rest with white furniture. For the less daring, tone down the colour a notch or two with white walls and soft grey stripes.
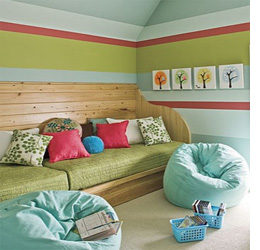
Punch up the colour in a children's bedroom of playroom with horizontal stripes in various widths and colours.
LEFT: Thick and skinny horizontal stripes introduce colours into this playroom. Take your colour inspiration from accessories and fabrics already in the room.
Stripes can be bold or subtle depending on the atmosphere you want to create. Bold, colourful stripes will liven up the space, whereas soothing colours with be calming and add an elegant touch to your nursery.
You don't need to paint the entire room, you can also choose to do a single wall or opposing walls.
Whether you decide to paint all of the walls, a single wall, or furniture, paint is a great way to complete the look of your nursery.
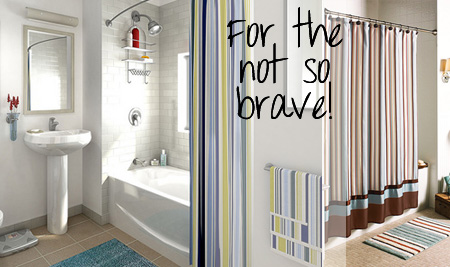
Stripes for the not-so-brave
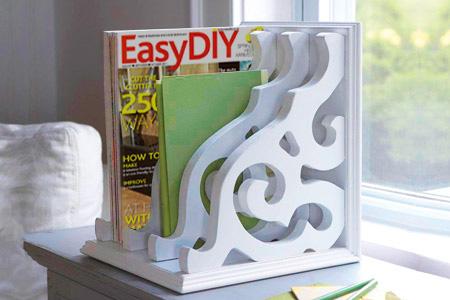
If you love the look of stripes but just aren't ready to roll out the masking tape, there are other options.
Add your stripes with fabric, decor accessories, and even art!